
— Creating a Run and Gun game —
Part 2: Aiming, shooting, and ducking
Note: this tutorial assumes knowledge of C, as well as prior tutorials.


Introduction
So far, we can control our Gunner and make him run back and forth, and jump. Our Gunner is no good without a gun, however, so in this part we're going to introduce shooting.
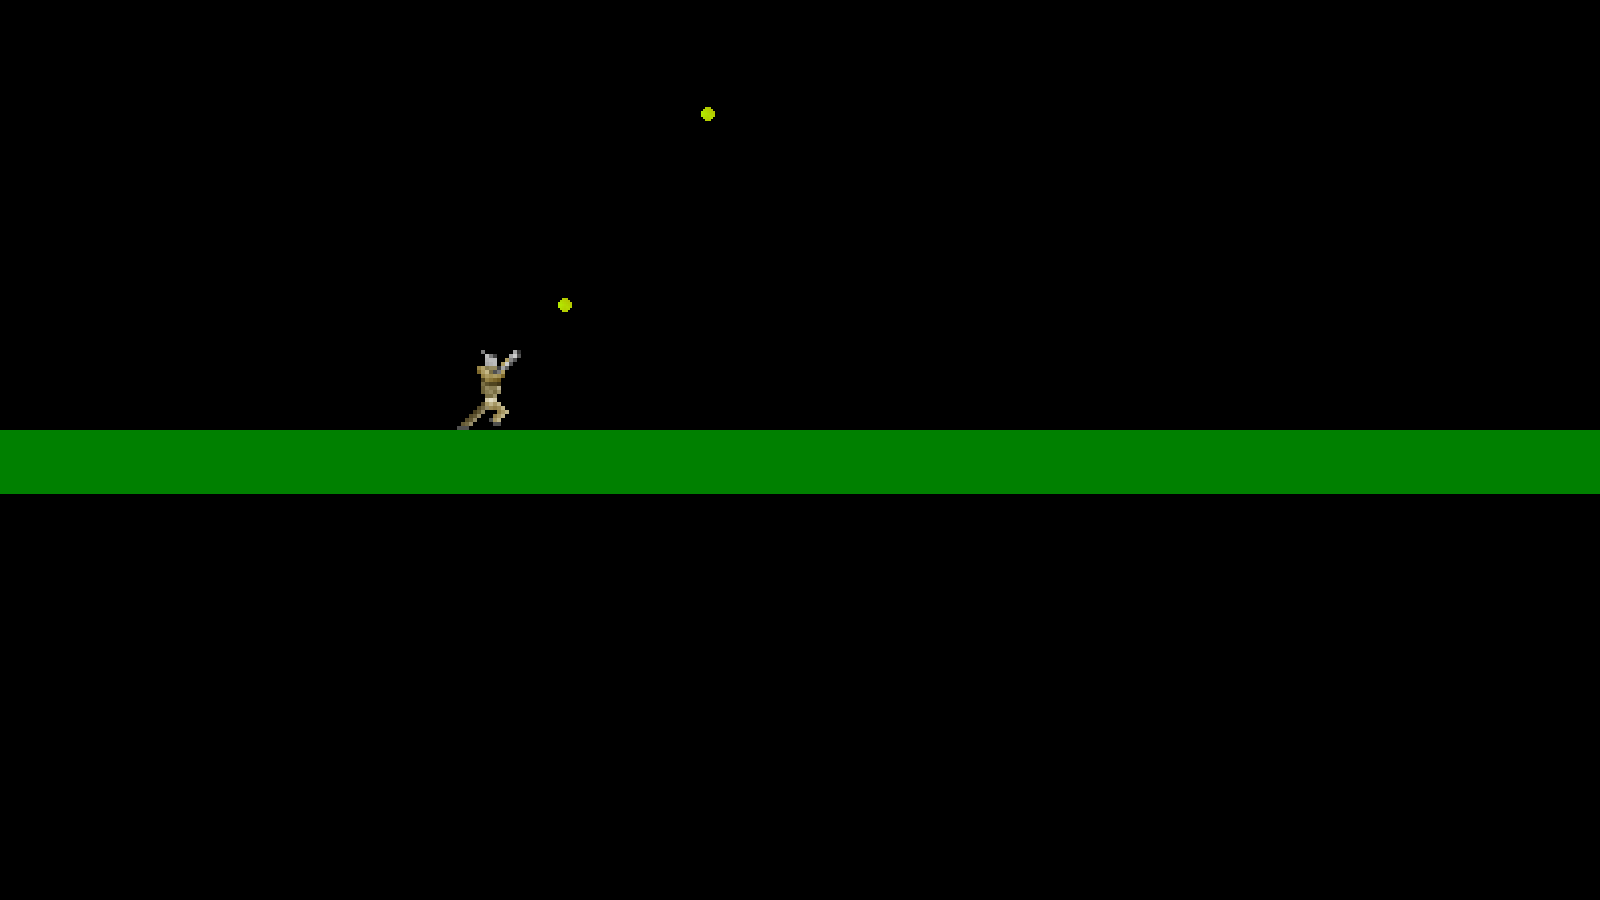
Extract the archive, run cmake CMakeLists.txt, followed by make, and then use ./gunner02 to run the code. You will see a window open like the one above, showing our main character on a black background. Use the A and D keys to move left and right, and I to jump. Hold J to fire. You can also hold W to aim up. Holding W while standing still will aim directly up, while doing so while moving will aim in diagonals. Lastly, you can hold S to lie flat on the ground. You can fire in this position, too. Once again, our character is constrained to the edges of the screen. Once you're finished, close the window to exit.
Inspecting the code
There's a been a number of changes in this part, to support firing. It's a little more involved than one might at first imagine. We'll look at structs.h first, to see what we've added:
struct Entity {
	double x;
	double y;
	double dx;
	double dy;
	int facing;
	int onGround;
	AtlasImage *texture;
	void (*data);
	void (*tick)(Entity *self);
	void (*draw)(Entity *self);
	Entity *next;
};
We've updated Entity with a few new fields: onGround is a flag to say whether the entity is currently on the ground, while the `data` field is a pointer to extended data. One such example of the extended data is the Gunner struct:
typedef struct {
	int frame;
	int ducking;
	int aimingUp;
	double animTimer;
	double reload;
} Gunner;
The Gunner struct contains all our player's data. In fact, we've actually migrated a number of the static variables that were in player.c into it, for the sake of consistency. The Gunner struct will represent the Gunner the player controls. `frame` and animTimer are used for controlling the animation state, while `ducking` is a flag to say whether the player is ducking (or rather, lying flat, as our sprite appears). aimingUp is a flag that will tell us whether the player is aiming up by holding W, while `reload` will be used to control the frequency of the player firing rate.
Next, we've added a Bullet struct:
struct Bullet {
	double x;
	double y;
	double dx;
	double dy;
	double life;
	Entity *owner;
	AtlasImage *texture;
	Bullet *next;
};
Our bullet struct will be used to hold all the details of a bullet that has been fired. `x` and `y` are the on-screen coordinates, while `dx` and `dy` are the horizontal and vertical speeds. `life` is used to control how long the bullet lives for. `owner` is a pointer to the Entity that owns the bullet (i.e., the one that fired it). `texture` is the image the bullet will use when drawn, while `next` is a pointer to the next Bullet in the linked list chain.
We can now look at the changes we've made to player.c, to support the new controls, as well as firing. We'll start with initPlayer:
void initPlayer(Entity *e)
{
	int i;
	char filename[MAX_FILENAME_LENGTH];
	Gunner *g;

	if (!wasInit)
	{
		for (i = 0 ; i < NUM_RUN_TEXTURES ; i++)
		{
			sprintf(filename, "gfx/sprites/gunnerRun%02d.png", i + 1);
			runTextures[i] = getAtlasImage(filename, 1);

			sprintf(filename, "gfx/sprites/gunnerAimUpRight%02d.png", i + 1);
			aimUpRightTextures[i] = getAtlasImage(filename, 1);
		}

		standTexture = getAtlasImage("gfx/sprites/gunnerStand.png", 1);

		aimUpTexture = getAtlasImage("gfx/sprites/gunnerAimUp.png", 1);

		jumpTexture = getAtlasImage("gfx/sprites/gunnerJump.png", 1);

		duckTexture = getAtlasImage("gfx/sprites/gunnerDuck.png", 1);

		bulletTexture = getAtlasImage("gfx/sprites/playerBullet.png", 1);

		wasInit = 1;
	}

	g = malloc(sizeof(Gunner));
	memset(g, 0, sizeof(Gunner));

	g->animTimer = ANIM_TIME;

	e->x = 450;
	e->y = 10;
	e->facing = FACING_RIGHT;
	e->texture = standTexture;
	e->data = g;

	e->tick = tick;
	e->draw = draw;
}
We're grabbing some new textures in our wasInit block: 6 (NUM_RUN_TEXTURES) animation frames for aiming diagonally up, assigned to a texture array called aimUpRightTextures; a texture for aiming directly up while standing still (aimUpTexture); a texture to show when the player is ducking (duckTexture); and a texture for the bullet that the player will fire (bulletTexture).
With our textures fetched, we're then mallocing and memsetting a Gunner struct. We're then setting the animTimer field to ANIM_TIMER. Remember that animTimer (as well as a few other fields) used to be static variables within player.c, but now live in Gunner. The rest of the initPlayer function remains the same, other than that we're assigning the Gunner to the entity's `data` field.
Next, we come to our updated `tick` function:
void tick(Entity *self)
{
	handleMovement(self);

	handleShoot(self);
}
We've split the logic into two parts: movement and shooting, to make it easier to work with. handleMovement will handle the player's movement, while handleShoot will deal with the logic for shooting. We'll look at handleMovement first:
static void handleMovement(Entity *self)
{
	Gunner *g;

	g = (Gunner*) self->data;

	self->dx = 0;

	g->aimingUp = 0;

	g->ducking = 0;

	if (app.keyboard[SDL_SCANCODE_A])
	{
		self->dx = -RUN_SPEED;

		self->facing = FACING_LEFT;
	}

	if (app.keyboard[SDL_SCANCODE_D])
	{
		self->dx = RUN_SPEED;

		self->facing = FACING_RIGHT;
	}

	if (app.keyboard[SDL_SCANCODE_I] && self->onGround)
	{
		self->dy = JUMP_SPEED;

		self->onGround = 0;
	}

	if (!self->onGround)
	{
		self->texture = jumpTexture;
	}
	else if (app.keyboard[SDL_SCANCODE_S])
	{
		self->texture = duckTexture;

		self->dx = 0;

		g->ducking = 1;

		g->frame = 0;
	}
	else
	{
		if (app.keyboard[SDL_SCANCODE_W])
		{
			g->aimingUp = 1;
		}

		if (self->dx != 0)
		{
			g->animTimer -= app.deltaTime;

			if (g->animTimer <= 0)
			{
				g->frame = (g->frame + 1) % NUM_RUN_TEXTURES;

				g->animTimer = ANIM_TIME;
			}

			if (g->aimingUp)
			{
				self->texture = aimUpRightTextures[g->frame];
			}
			else
			{
				self->texture = runTextures[g->frame];
			}
		}
		else
		{
			g->frame = 0;

			if (g->aimingUp)
			{
				self->texture = aimUpTexture;
			}
			else
			{
				self->texture = standTexture;
			}
		}
	}
}
That's a long function! You can probably see why it doesn't all live in `tick`, alongside the shooting logic. We'll work our way through it, but won't linger on the bits we already covered in part 1. We're now extracting the Gunner data from the player Entity's `data` field, and setting its aimingUp flag to 0, to ensure the player always aims straight. Movement largely remains as normal, except that when the player presses I to jump, we're now testing if the entity's onGround flag is set to 1, and then setting it to 0 as the player begins to jump.
We now come to the larger number of changes. To begin with, we're testing if the player entity's onGround flag is 0. If so, we're setting player entity's `texture` to jumpTexture. If we're on the ground, we're testing to see if the S key is being pressed. If so, the player is ducking. We're setting the player entity's `texture` to duckTexture, zeroing their `dx` to stop them from moving, setting the Gunner's `ducking` flag to 1, and setting the Gunner's `frame` to 0. When a player ducks, they basically won't be able to move.
However, if we're not jumping or ducking, we'll want to test a number of other states. We first check to see if the W key is being pressed. If so, the player is aiming up. We'll set the Gunner's aimingUp flag to 1, to reflect this. Next, we'll check to see if the player's `dx` is a non-zero value (meaning they are moving). If so, we'll be animating the player as before, this time using the variables in the Gunner object. However, when it comes to setting the texture, we'll be testing the Gunner's aimingUp flag. If it's 1 (true), we'll be using the frame from the aimUpRightTextures array. Otherwise, we'll be using the runTextures. This means that if we're aiming up when running, our player will use a different animation set from when they are aiming straight ahead.
If the player is standing still, we'll reset the Gunner's frame to 0, and then, depending on whether they are aiming up, we'll either assign aimUpTexture or standTexture to the player's texture.
In short, we'll be changing the player's sprite depending on the actions they are taking.
Now, we can look at handleShoot. While it might not look like it, this function is a lot more straightforward:
static void handleShoot(Entity *self)
{
	Bullet *b;
	Gunner *g;

	g = (Gunner*) self->data;

	g->reload = MAX(g->reload - app.deltaTime, 0);

	if (app.keyboard[SDL_SCANCODE_J] && g->reload == 0)
	{
		b = spawnBullet(self);
		b->texture = bulletTexture;
		b->life = FPS * 2;

		if (g->ducking)
		{
			b->y = self->y + self->texture->rect.h - 22;
			b->x = self->facing == FACING_RIGHT ? self->x + self->texture->rect.w : self->x - b->texture->rect.w;
			b->dx = self->facing == FACING_RIGHT ? BULLET_SPEED : -BULLET_SPEED;
		}
		else if (g->aimingUp)
		{
			b->y = self->y - b->texture->rect.h;
			b->dy = -BULLET_SPEED;

			if (self->dx == 0)
			{
				b->x = self->x + (self->texture->rect.w / 2) - (b->texture->rect.w / 2);
				b->x += self->facing == FACING_RIGHT ? 12 : -12;
			}
			else
			{
				b->x = self->facing == FACING_RIGHT ? self->x + self->texture->rect.w : self->x;
				b->dx = self->facing == FACING_RIGHT ? BULLET_SPEED : -BULLET_SPEED;
			}
		}
		else
		{
			b->x = self->facing == FACING_RIGHT ? self->x + self->texture->rect.w : self->x;
			b->y = self->y + 19;
			b->dx = self->facing == FACING_RIGHT ? BULLET_SPEED : -BULLET_SPEED;
		}

		g->reload = RELOAD_SPEED;
	}
}
We're first extracting the Gunner data from the player entity. We're then decreasing the Gunner's `reload`, limiting it to 0. Next, we're testing if the J key is being pressed and also if the Gunner's `reload` is 0. If both these conditions hold true, we're ready to fire a bullet. We start by calling a function called spawnBullet (we'll see more on this in a bit), and assigning the result (a Bullet) to a variable called `b`. We're then assigning the bullet's texture to the bulletTexture we loaded during our initPlayer step, and also setting the bullet's `life` to two second (FPS * 2).
With that done, we need to next figure out the position and velocity of the bullet. All this will depend on the player's state. We're first checking if the player is ducking, by testing the Gunner's `ducking` flag. If so, we're setting the bullet's `y` to a position relative to the gun barrel on the player sprite. Next, we set the `x` position. If the player is facing right, we'll set the bullet to the player's right-hand side. If we're facing left, to the left-hand side. We'll finally set the bullet's `dx` (it's x speed). This will either be BULLET_SPEED (defined as 24) or -BULLET_SPEED depending on whether the player is facing right or left.
If the player isn't ducking, we check if they are aiming up. If so, we'll set the bullet's `y` to be above the player, and the `dy` (the y speed) to be -BULLET_SPEED, meaning the bullet will move up the screen. We then check if the player is moving by testing the `dx`. If `dx` is 0, the player is standing still. We'll set the bullet's `x` to be centrally positioned over the player, with a minor adjustment of 12 or -12 pixels, to match the position of the gun barrel, depending on if they're facing left or right. If `dx` is 0, meaning we're moving, we'll want to position the bullet in an area around the top-left or top-right of our character. Again, position adjustments are carried out, depending on whether we're facing left or right.
If we're not aiming up or ducking, then we'll be shooting straight. We're therefore position the bullet on the left or right side of the player, depending on which way they're facing. The bullet's `y` will alway be set to the same place (the entity's `y` + 19), while the bullet's `dx` speed will be BULLET_SPEED or -BULLET_SPEED. Like when we're ducking, `dy` remains 0.
The last thing we do is reset Gunner's `reload` to RELOAD_SPEED (defined as 8), to control the rate of fire.
Phew! That was a lot to get through. It's not unexpected, however, since it's our player controls, so there would always be plenty of code to consider. Some of this is a candidate for refactoring, which we might do later on.
Now, let's move onto how we're handling our bullets. All the logic for these is defined in bullets.c. There are a number of functions, but none of them are near as complex as the player's code. We'll start with initBullets:
void initBullets(void)
{
	memset(&stage.bulletHead, 0, sizeof(Bullet));
	stage.bulletTail = &stage.bulletHead;
}
A straightforward function - we're setting up our bullet linked list by memsetting Stage's bulletHead and setting Stage's bulletTail as bulletHead. Next, we come to spawnBullet which was referenced in player.c:
Bullet *spawnBullet(Entity *owner)
{
	Bullet *b;

	b = malloc(sizeof(Bullet));
	memset(b, 0, sizeof(Bullet));
	stage.bulletTail->next = b;
	stage.bulletTail = b;

	b->owner = owner;

	return b;
}
The function takes the bullet's owner as an argument. We're mallocing and memsetting a Bullet, assigning it to a variable called `b`, then adding it to our linked list. The created bullet then becomes the tail of the linked list. We're then setting the bullet's `owner` as the owner we passed into the function, before returning the bullet itself.
Our doBullets function follows. If you've been through the previous tutorials, you'll not find anything unusual here:
void doBullets(void)
{
	Bullet *b, *prev;

	prev = &stage.bulletHead;

	for (b = stage.bulletHead.next ; b != NULL ; b = b->next)
	{
		b->x += (b->dx * app.deltaTime);
		b->y += (b->dy * app.deltaTime);

		b->life -= app.deltaTime;

		if (b->life <= 0)
		{
			prev->next = b->next;

			if (b == stage.bulletTail)
			{
				stage.bulletTail = prev;
			}

			free(b);

			b = prev;
		}

		prev = b;
	}
}
We're stepping through each bullet in the linked list, adding the bullet's `dx` and `dy` to its `x` and `y`, to make it move. We're then also decreasing its `life`. If its `life` hits 0, it will be dead, and so we'll remove it.
drawBullets is just as simple, if not more so:
void drawBullets(void)
{
	Bullet *b;

	for (b = stage.bulletHead.next ; b != NULL ; b = b->next)
	{
		blitAtlasImage(b->texture, b->x, b->y, 0, b->dx > 0 ? SDL_FLIP_NONE : SDL_FLIP_HORIZONTAL);
	}
}
We're again looping through each of our bullets and calling blitAtlasImage, passing in the bullet's `texture`, and `x` and `y` values. We're also testing the direction the bullet is moving, and flipping the texture accordingly. If it's travelling to the right, no flipping will occur. Otherwise, we'll mirror it horizontally. While our bullets are currently round, meaning the direction won't have a rendering impact, a bullet shaped like a rocket would look odd flying backwards. This test will fix that error.
We're almost done, so let's finally take a look at where we're making all our bullet calls. Heading over to stage.c, we've updated the initStage, `logic`, and `draw` functions. Starting with initStage:
void initStage(void)
{
	memset(&stage, 0, sizeof(Stage));

	initEntities();

	initBullets();

	initEntity("player");

	app.delegate.logic = logic;
	app.delegate.draw = draw;
}
We're now calling initBullets, to prepare our bullet list. `logic` has also seen a one-line change:
static void logic(void)
{
	doEntities();

	doBullets();
}
We've added a call to doBullets, to process our bullets. Likewise, `draw` has seen a single new call added:
static void draw(void)
{
	drawRect(0, 430, SCREEN_WIDTH, 64, 0, 128, 0, 255);

	drawEntities();

	drawBullets();
}
As expected, we're calling drawBullets, to render our bullets.
That's this part concluded. There's a lot our main character can now do: run, jump, duck, and fire in a number of directions. What we really need now is something to shoot. We'll add in some targets to demonstrate this in the next part.
Purchase
The source code for all parts of this tutorial (including assets) is available for purchase:
From itch.io
It is also available as part of the SDL2 tutorial bundle: