PC Games
• Orb
• Lasagne Monsters
• Three Guys Apocalypse
• Water Closet
• Blob Wars : Attrition
• The Legend of Edgar
• TBFTSS: The Pandoran War
• Three Guys
• Blob Wars : Blob and Conquer
• Blob Wars : Metal Blob Solid
• Project: Starfighter
• TANX Squadron
Tutorials
• 2D shoot 'em up
• 2D top-down shooter
• 2D platform game
• Sprite atlas tutorial
• Working with TTF fonts
• 2D adventure game
• Widget tutorial
• 2D shoot 'em up sequel
• 2D run and gun
• Roguelike
• Medals (Achievements)
• 2D turn-based strategy game
• 2D isometric game
• 2D map editor
• 2D mission-based shoot 'em up
• 2D Santa game
• 2D split screen game
• 2D quest game
• SDL 1 tutorials (outdated)
Latest Updates
The Legend of Edgar 1.38
Thu, 1st January 2026
SDL2 Quest game tutorial
Wed, 7th May 2025
SDL2 Versus game tutorial
Wed, 20th March 2024
Download keys for SDL2 tutorials on itch.io
Sat, 16th March 2024
The Legend of Edgar 1.37
Mon, 1st January 2024
Tags
• battle-for-the-solar-system (10)
• blob-wars (10)
• brexit (1)
• code (6)
• edgar (10)
• games (45)
• lasagne-monsters (1)
• making-of (5)
• match3 (1)
• numberblocksonline (1)
• orb (2)
• site (1)
• tanx (4)
• three-guys (3)
• three-guys-apocalypse (3)
• tutorials (18)
• water-closet (4)
Books

H1NZ
Arriving on the back of a meteorite, an alien pathogen has spread rapidly around the world, infecting all living humans and animals, and killing off all insect life. Only a handful are immune, and these survivors cling desperately to life, searching for food, fresh water, and a means of escape, find rescue, and discover a way to rebuild.
— Creating a Run and Gun game —
Part 1: First steps
Note: this tutorial assumes knowledge of C, as well as prior tutorials.


Introduction
Run and gun games are a well-known subgenre of the shoot 'em up genre itself. Famous examples included Metal Slug, Turrican, and Contra (and not forgetting Parallel Realities' own Metal Blob Solid). In this tutorial series, we're going to look at what it takes to create such a game, finishing up with a full multi-directional level to explore, along with secrets, power-ups, and the like.
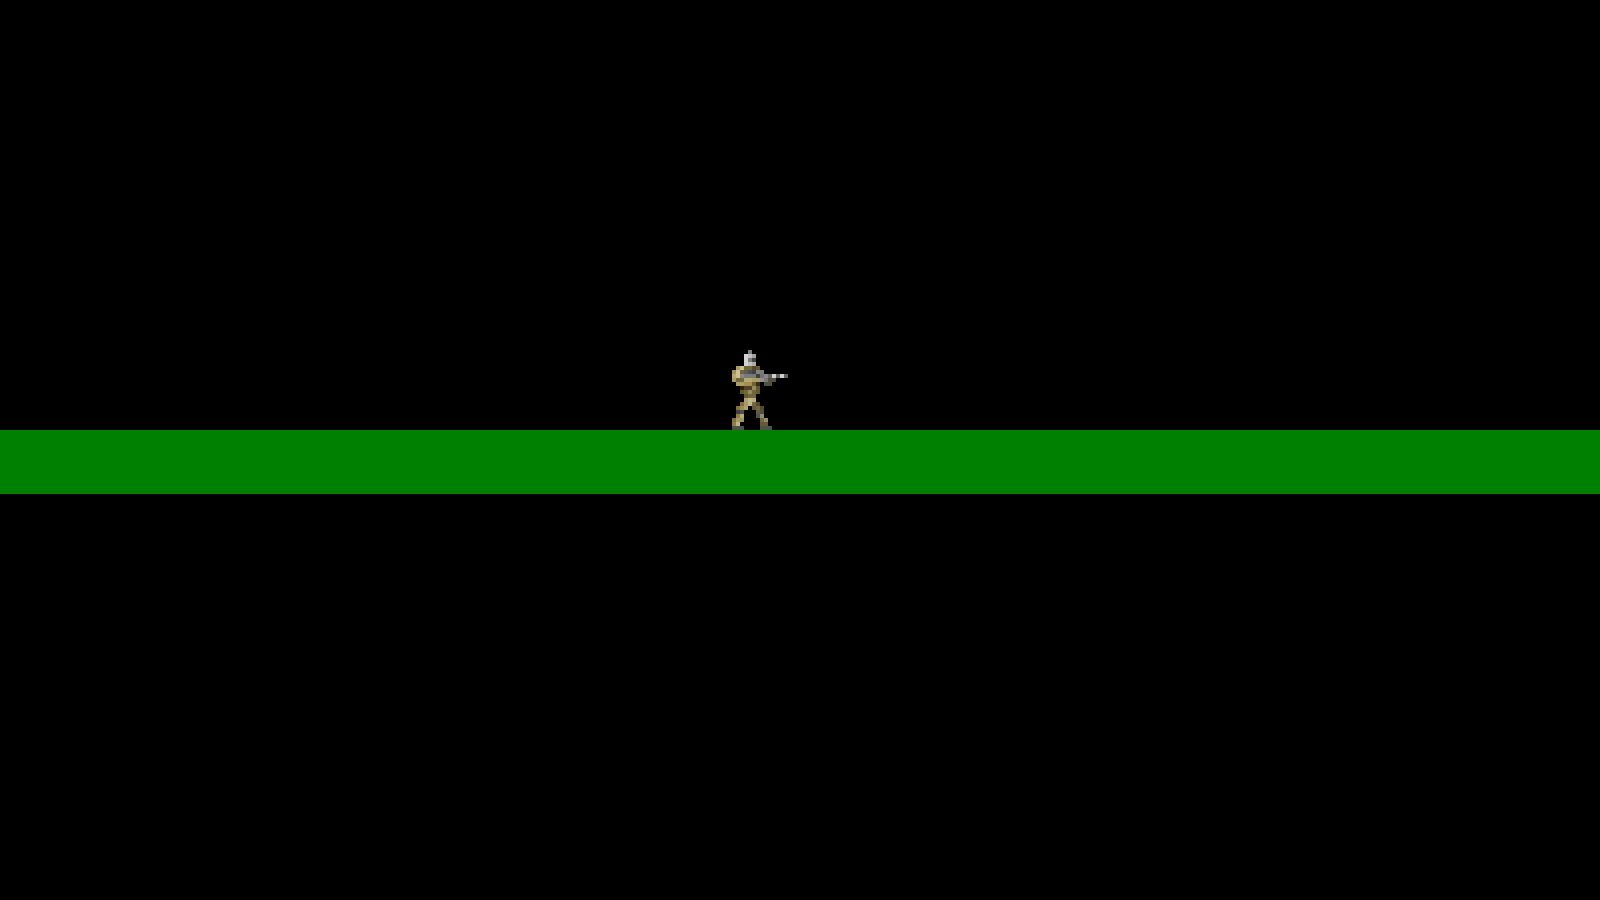
Extract the archive, run cmake CMakeLists.txt, followed by make, and then use ./gunner01 to run the code. You will see a window open like the one above, showing our main character on a black background. Use the A and D keys to move left and right, and I to jump. Our character is constrained to the edges of the screen. Once you're finished, close the window to exit.
Inspecting the code
There will be a lot to cover in this tutorial, so we're going to go slowly (hence the number of parts). We'll start by looking at structs.h:
struct Entity {
	double x;
	double y;
	double dx;
	double dy;
	int facing;
	AtlasImage *texture;
	void (*tick)(Entity *self);
	void (*draw)(Entity *self);
	Entity *next;
};
Our Entity struct will be used to hold almost everything - the player character, items, doors, destructable objects. Bullets (when we come to them) will be excluded, however. Our entity struct has `x` and `y` fields, to hold the entity coordinates on the screen; `dx` and `dy` fields to hold the delta x and y, for the movement directions; a `facing` field that may be FACING_LEFT or FACING_RIGHT (defined in defs.h); a `texture` field to hold the image it will use; and `tick` and `draw` function pointers. Our entities may form part of a linked list, too, hence the `next` field.
The next struct is an interesting one, as we're going to use it to help with instancing objects in the game:
struct InitFunc {
	char name[MAX_NAME_LENGTH];
	void (*init)(Entity *e);
	InitFunc *next;
};
InitFunc has three fields: `name`, `init`, and `next`. `name` is just the name of the initFunc itself, while `init` is a function pointer that takes an Entity as an argument. initFuncs are linked lists, so they also have `next` fields. We'll see how all this works in a little while.
The last struct we should mention is Stage:
typedef struct {
	Entity entityHead, *entityTail;
} Stage;
Stage will hold our level information. Right now, it just holds the linked list information for our Entities, having entityHead and entityTail, to represent the start and end of the list.
Let's now look at entityFactory.c. This file contains a load of functions for creating our entities. Forward-thinking tells us that our level data will live in files and won't be hardcoded into the game, so we'll need a way of figuring out what the entities are and how to create them, based on the data in this file. If you went through the SDL2 Adventure tutorial, you will have seen this before, except in this game the approach to dealing with entity instancing will be a bit more sophisticated. We'll start with initEntityFactory:
void initEntityFactory(void)
{
	memset(&head, 0, sizeof(InitFunc));
	tail = &head;

	addInitFunc("player", initPlayer);
}
We're starting off by memsetting a variable called `head`. This is a static InitFunc field in entityFactory.c, that represents the start of our InitFunc linked list. We're then setting the tail of the linked list as the head. Next, we're calling a function named addInitFunc, passing over "player" and a function reference. Let's look at it now, so we can see what it does:
static void addInitFunc(char *name, void (*init)(Entity *e))
{
	InitFunc *i;

	i = malloc(sizeof(InitFunc));
	memset(i, 0, sizeof(InitFunc));
	tail->next = i;
	tail = i;

	STRCPY(i->name, name);
	i->init = init;
}
When called, the function mallocs and memsets an InitFunc, assigns it to the current `tail`'s next, and then makes the new InitFunc the tail. In effect, we're adding a new InitFunc to our linked list. With that done, we're copying the name we passed into the function into the InitFunc's name, as well as assigning the init function we passed into the function to the InitFunc's `init`. Simple enough so far.
The next function to consider is initEntity:
Entity *initEntity(char *name)
{
	Entity *e;

	e = spawnEntity();

	getInitFunc(name)->init(e);

	return e;
}
This is the function we'll call when we want to create an Entity. The function takes one argument: the name of the entity that we want to create. The first thing we do is call a function called spawnEntity to create the base entity object, assigning it to `e`. We then call another function called getInitFunc, passing over the name that was passed into this function. As we'll see in a bit, getInitFunc returns an InitFunc by name. With the initFunc found, we'll call its `init` function, passing in the Entity we created. Finally, we return the Entity itself, in case we want to do anything else with it.
This function is essentially the core of our factory, as it can create an entity by name (assuming we've correctly defined it). This will be one of the main pillars of our game.
Let's look at spawnEntity now. It won't be too shocking:
Entity *spawnEntity(void)
{
	Entity *e;

	e = malloc(sizeof(Entity));
	memset(e, 0, sizeof(Entity));
	stage.entityTail->next = e;
	stage.entityTail = e;

	return e;
}
We're mallocing and memsetting an Entity, before adding it to our Stage's entityTail's `next` and assigning the new Entity as the Stage's entityTail. In short, we're creating an Entity, adding it to a linked list, and returning it.
Finally, let's see what getInitFunc does:
static InitFunc *getInitFunc(char *name)
{
	InitFunc *i;

	for (i = head.next ; i != NULL ; i = i->next)
	{
		if (strcmp(i->name, name) == 0)
		{
			return i;
		}
	}

	SDL_LogMessage(SDL_LOG_CATEGORY_APPLICATION, SDL_LOG_PRIORITY_CRITICAL, "Unknown entity '%s'", name);
	exit(1);

	return NULL;
}
We're passing over the name of the initFunc that we want to fetch. As we already know, our InitFuncs live in a linked list. Therefore, finding the InitFunc is a simple case of looping through our known InitFuncs, looking for one that matches the name that we passed into the function, and returning it. If we don't find a match, we're going to print an error an exit. This might seem heavy handed, but we want to make sure that we've named and set up everything correctly. Its unlikely we'll see such forced program exits very often, if at all.
Note that initEntityFactory is called from initGameSystem in init.c.
Now, let's have a look at player.c. This is where we define our player entity, including how it will be controlled, etc. Quite a lot in this file, so we'll start at the top, with initPlayer:
void initPlayer(Entity *e)
{
	int i;
	char filename[MAX_FILENAME_LENGTH];

	if (!wasInit)
	{
		for (i = 0 ; i < NUM_RUN_TEXTURES ; i++)
		{
			sprintf(filename, "gfx/sprites/gunnerRun%02d.png", i + 1);

			runTextures[i] = getAtlasImage(filename, 1);
		}

		standTexture = getAtlasImage("gfx/sprites/gunnerStand.png", 1);

		jumpTexture = getAtlasImage("gfx/sprites/gunnerJump.png", 1);

		wasInit = 1;
	}

	frame = 0;

	animTimer = ANIM_TIME;

	e->x = 450;
	e->y = 300;
	e->facing = FACING_RIGHT;
	e->texture = standTexture;

	e->tick = tick;
	e->draw = draw;
}
The first thing we're doing is checking a flag called wasInit, to see if we need to grab the textures for our player. If wasInit is 0 (false), we'll fetch all of our runTextures by using a for-loop. These are the animation frames for our main sprite when he's moving. There are 6 of them (NUM_RUN_TEXTURES), named "gfx/sprites/gunnerRun01.png", "gfx/sprites/gunnerRun02.png", etc. Using sprintf, we can generate all the filenames we need and assign each to the appropriate index in the runTextures AtlasImage array. Next, we're fetching a texture called "gfx/sprites/gunnerStand.png", and assigning it to standTexture. standTexture is the texture that will be used for our character when they are standing still. Finally, we grab a texture called "gfx/sprites/gunnerJump.png". This is the texture we'll use when the character jumps. We're assigning it to jumpTexture.
Now we have all our textures, we're going to set a few other variables. `frame` is a variable that we'll use to determine which animation frame in our runTextures we're currently displaying. animTimer is a counter that will control how long the frame is displayed for. We'll set this initially to ANIM_TIME (defined as 6).
We're finally setting up our entity's fields, setting its `x` and `y` coordinates on screen, and telling our character that they are facing right. We're all setting the inital texture in use to the standTexture. We're assigning the entity's `tick` and `draw` function pointers to the `tick` and `draw` functions in player.c itself.
That's initPlayer done with, so we can look at the `tick` function next. The `tick` function is called each frame, for each entity, and is used to drive its logic:
void tick(Entity *self)
{
	self->dx = 0;

	if (self->y == 350)
	{
		self->dy = 0;
	}

	if (app.keyboard[SDL_SCANCODE_A])
	{
		self->dx = -RUN_SPEED;

		self->facing = FACING_LEFT;
	}

	if (app.keyboard[SDL_SCANCODE_D])
	{
		self->dx = RUN_SPEED;

		self->facing = FACING_RIGHT;
	}

	if (app.keyboard[SDL_SCANCODE_I] && self->y == 350)
	{
		self->dy = JUMP_SPEED;
	}

	if (self->dy != 0)
	{
		self->texture = jumpTexture;
	}
	else if (self->dx != 0)
	{
		animTimer -= app.deltaTime;

		if (animTimer <= 0)
		{
			frame = (frame + 1) % NUM_RUN_TEXTURES;

			animTimer = ANIM_TIME;
		}

		self->texture = runTextures[frame];
	}
	else
	{
		frame = 0;

		self->texture = standTexture;
	}
}
The first thing we're doing is setting the player's `dx` to 0, effectively causing the player to stop moving. Next, we're checking if the player's `y` is 350, and if so, we're setting it to 0. This is a temporary test, to check if the player is on the ground. At a future point, we'll be checking the player entity against the world map properly.
With those check done, we're testing the player movement. If the A key is pressed, we're setting the player's `dx` to the negative of RUN_SPEED (defined as 6). If the D key is pressed, we're setting the player's `dx` to RUN_SPEED. In other words, holding A or D will cause the player to move left or right (we'll see how `dx` and `dy` are used when we come to the entity processing in a bit). Whenever A or D is pressed, we're also updating the player's `facing` field to the appropriate value: FACING_LEFT if we push A or FACING_RIGHT if we push D. After this, we're checking if I has been pressed and if the player's `y` is 350. If both these conditions are true, we'll set the player's `dy` to JUMP_SPEED (defined as -15). In other words, if the player is on the ground and they press I, we'll allow them to jump.
With the controls handled, we'll set the player's texture based on what's happening. We first check if the entity's `dy` is a non-zero value. If so, it means they are in the air, and so we'll set the entity's `texture` as jumpTexture. If `dy` is 0, we'll test to see if `dx` is a non-zero value. If it is, it means that the player is moving. We'll decrease the value of animTimer, then test if it's fallen to 0 or less. If so, we'll increment frame by 1 and reduce it to a value between 0 and NUM_RUN_TEXTURES (exclusive). This means that `frame` will loop: 0 1 2 3 4 5 0 1 2 3 4 5 ... We'll then reset animTimer to ANIM_TIME. With all that done, we'll set the entity's `texture` to the texture in the runTextures array at the value of `frame`. Finally, if the player isn't moving at all, we'll reset the value of `frame` to 0 and set the entity's `texture` as standTexture. We're resetting `frame` to 0 so that when we do start moving, things don't look odd.
That's the `tick` function handled. It will grow more complex in future. The only remaining function to look at is `draw`:
static void draw(Entity *self)
{
	blitAtlasImage(self->texture, self->x, self->y, 0, self->facing == FACING_RIGHT ? SDL_FLIP_NONE : SDL_FLIP_HORIZONTAL);
}
It's a standard rendering function, where we're calling our blitAtlasImage function and passing in the player's current `texture`, as well as the entity's `x` and `y` coordinates. Note that we're also testing the player's `facing`. If it is FACING_RIGHT, we're passing SDL_FLIP_NONE to the function. Otherwise, we're passing SDL_FLIP_HORIZONTAL. This will mean that when we move right, our texture will be drawn without it being mirrored. If we're moving left, we'll flip it horizontally.
That's our player entity done. We'll look at how all our entity processing is handled next. This is done in a file called entities.c. Starting with initEntities:
void initEntities(void)
{
	memset(&stage.entityHead, 0, sizeof(Entity));
	stage.entityTail = &stage.entityHead;
}
We're setting up the Stage's entity linked list, by memsetting the entityHead and setting entityTail as the head. Just our usual linked list prep. Next comes doEntities:
void doEntities(void)
{
	Entity *e;

	for (e = stage.entityHead.next ; e != NULL ; e = e->next)
	{
		e->dy = MIN(e->dy + (GRAVITY * app.deltaTime), MAX_FALL_SPEED);

		e->x += (e->dx * app.deltaTime);
		e->y += (e->dy * app.deltaTime);

		e->x = MIN(MAX(e->x, 10), SCREEN_WIDTH - (e->texture->rect.w + 10));
		e->y = MIN(e->y, 350);

		e->tick(e);
	}
}
As expected, we're looping through all of our entities. For each one, we're increasing the value of its `dy` by GRAVITY (defined in defs.h as 1). We're also capping the value of `dy` to MAX_FALL_SPEED (12). What this means is that each frame we're going to be pushing the entity down screen at an increasing speed. We're then adding each entity's `dx` and `dy` to their `x` and `y`, to make them move. Remember how when we pressed A and D in the player's `tick` we would set the `dx`? This is where those values are applied. Increasing `dy` all the time means that our entity will always be falling.
For the purposes of this part, we're then limiting all entities's `x` values to the bounds of the screen (plus a margin of 10 pixels). We're also not allowing our entities's `y` values to be larger than 350 (remember that 350 is the value at which we're allowing the player to jump and is therefore considered the ground).
The last thing we're doing is calling the entity's `tick` function.
Our drawEntities function is next. There's not a lot to it right now:
void drawEntities(void)
{
	Entity *e;

	for (e = stage.entityHead.next ; e != NULL ; e = e->next)
	{
		e->draw(e);
	}
}
We're merely looping through each entity and calling its `draw` function. In future, we may have a default rendering step if the entity's draw function is NULL.
Finally, we come to stage.c, where all our root processing takes place. initStage is up first:
void initStage(void)
{
	memset(&stage, 0, sizeof(Stage));

	initEntities();

	initEntity("player");

	app.delegate.logic = logic;
	app.delegate.draw = draw;
}
We're memsetting Stage to make sure everything is cleared out, then calling initEntities to prepare them. Next, we're calling the initEntity function from entityFactory.c, and passing in "player" as the argument, to create a player. We're then setting our logic and draw delegates, both of which are very simple. We'll start with `logic`:
static void logic(void)
{
	doEntities();
}
`logic` right now does nothing more than call doEntities, to process our entities. The draw function is equally as simple:
static void draw(void)
{
	drawRect(0, 430, SCREEN_WIDTH, 64, 0, 128, 0, 255);

	drawEntities();
}
We're first drawing a filled dark green rectangle, to represent the "ground", before calling drawEntities to draw our entities. Otherwise, there's nothing else to it.
That's it for our first part. We've built a good framework so far to make progressing easier on ourselves. Next, we'll look at ducking and shooting.
Purchase
The source code for all parts of this tutorial (including assets) is available for purchase:
From itch.io
It is also available as part of the SDL2 tutorial bundle: