
— 2D Shoot 'Em Up Tutorial —
Part 1: Opening a window


Introduction
This first tutorial will explain how to open a window in SDL2. Extract the archive, run cmake CMakeLists.txt, followed by make to build. Once compiling is finished type ./shooter01 to run the code.
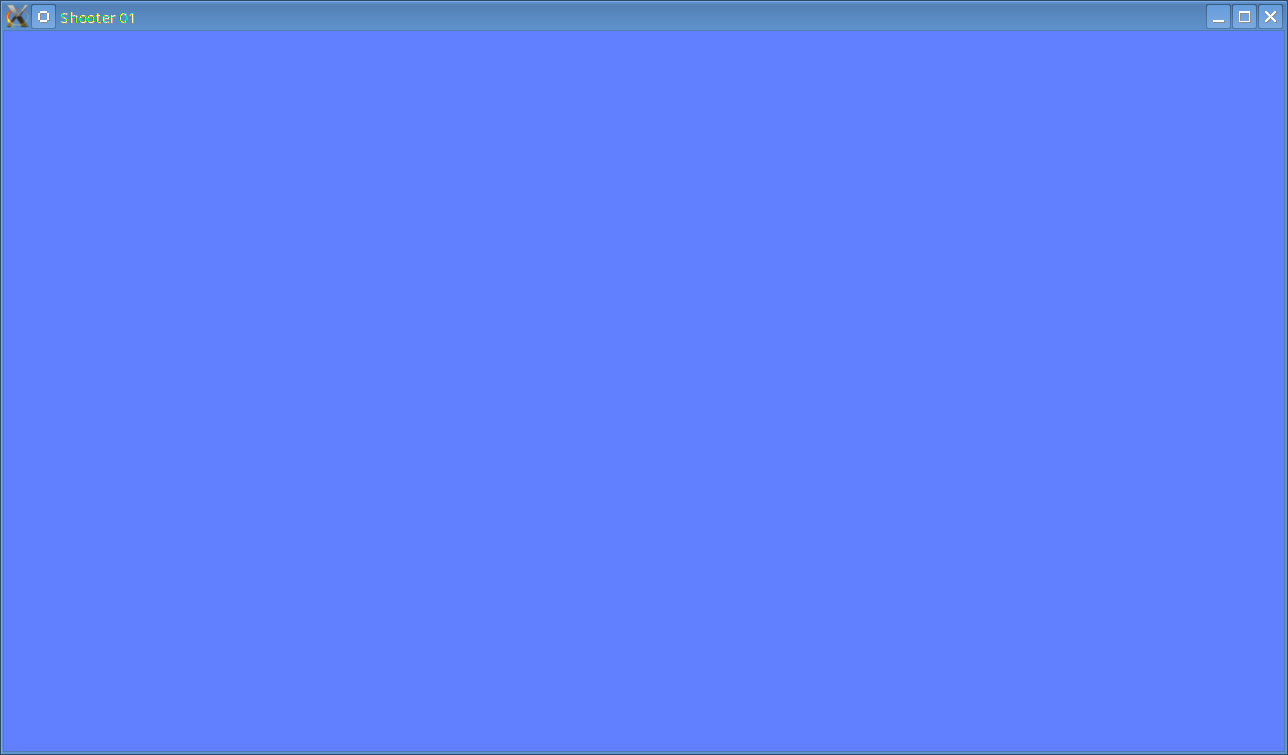
A 1280 x 720 window will open, coloured a light shade of blue. Close the window by clicking on the window's close button. As already said: simple.
Inspecting the code
There are several files involved in this example:
common.h - contains common headers.
defs.h - contains definitions, such as the size of the window.
draw.c - functions related to drawing and rendering.
draw.h - header file for draw.c.
init.c - functions concerned with setting up SDL.
init.h - header file for init.c.
input.c - handles input, such as reading the keyboard.
input.h - header file for input.c.
main.c - where the main loop and program entry point exists.
main.h - header file for main.c.
structs.h - object definitions.
We'll start by looking at defs.h.
#define SCREEN_WIDTH   1280
#define SCREEN_HEIGHT  720
The definitions of the screen resolution we want to use. This will also be our window size. Looking at structs.h we'll find a single object definition:
typedef struct {
	SDL_Renderer *renderer;
	SDL_Window *window;
} App;
The App struct will hold references to our renderer and window that we'll set up next. So, onto initSDL in init.c:
void initSDL(void)
{
	int rendererFlags, windowFlags;

	rendererFlags = SDL_RENDERER_ACCELERATED;

	windowFlags = 0;

	if (SDL_Init(SDL_INIT_VIDEO) < 0)
	{
		printf("Couldn't initialize SDL: %s\n", SDL_GetError());
		exit(1);
	}

	app.window = SDL_CreateWindow("Shooter 01", SDL_WINDOWPOS_UNDEFINED, SDL_WINDOWPOS_UNDEFINED, SCREEN_WIDTH, SCREEN_HEIGHT, windowFlags);

	if (!app.window)
	{
		printf("Failed to open %d x %d window: %s\n", SCREEN_WIDTH, SCREEN_HEIGHT, SDL_GetError());
		exit(1);
	}

	SDL_SetHint(SDL_HINT_RENDER_SCALE_QUALITY, "linear");

	app.renderer = SDL_CreateRenderer(app.window, -1, rendererFlags);

	if (!app.renderer)
	{
		printf("Failed to create renderer: %s\n", SDL_GetError());
		exit(1);
	}
}
We start by calling SDL_Init, passing over SDL_INIT_VIDEO to initialize SDL2's video subsystem. We next create our window using SDL_CreateWindow. SDL_WINDOWPOS_UNDEFINED tells SDL to let the OS position the window wherever it likes. Our width and height are defined by SCREEN_WIDTH and SCREEN_HEIGHT (found in defs.h). With this done, we next create the main renderer by calling SDL_CreateRenderer, supplying the window we just created and the render flags that we want to use (in this case SDL_RENDERER_ACCELERATED). The -1 tells SDL to use the first graphics acceleration device it finds. Unless you're trying to do something very specific, you'll want to pass -1 to this call. For both the creation of the window and renderer we'll check to see if they were successful and exit with an error message if not.
Let's now look at some basic input handling. Looking at input.c we'll find a single function: doInput.
void doInput(void)
{
	SDL_Event event;

	while (SDL_PollEvent(&event))
	{
		switch (event.type)
		{
			case SDL_QUIT:
				exit(0);
				break;

			default:
				break;
		}
	}
}
This function simply reads all the recent inputs (keyboard, mouse, etc) from SDL's queue until there are none left. We'll only handle one right now - qutting. This event is sent when we close the SDL window by clicking on its close gadget.
Now let's look at the drawing code. Again, draw.c is very straightforward. It has just two functions:
void prepareScene(void)
{
	SDL_SetRenderDrawColor(app.renderer, 96, 128, 255, 255);
	SDL_RenderClear(app.renderer);
}

void presentScene(void)
{
	SDL_RenderPresent(app.renderer);
}
These functions deal with preparing to render: prepareScene, and displaying it: presentScene. In prepareScene, we set the colour of SDL renderer using SDL_SetRenderDrawColor. This function takes five parameters: the pointer to the renderer that we created in init.c and the RGBA of the colour that we want to use. These values go from 0 to 255, with 0 being darkest and 255 being full. The final parameter is the alpha value. 0 is fully transparent whereas 255 is opaque. SDL_RenderPresent takes just one parameter - once again the renderer that we are using.
Finally, let's look at main.c. This is where we'll find our main function and main program loop. As ever, there's not much to it:
int main(int argc, char *argv[])
{
	memset(&app, 0, sizeof(App));

	initSDL();

	atexit(cleanup);

	while (1)
	{
		prepareScene();

		doInput();

		presentScene();

		SDL_Delay(16);
	}

	return 0;
}
We first clear our App object and then call initSDL. We'll set an atexit to cleanup everything (see init.c) and then enter our main loop. For each frame we'll call prepareScene to setup rendering, collect and process the user input with doInput, display the scene with presentScene and then finally call SDL_Delay with a value of 16 (milliseconds). This wait serves to limit our loop to around 62 frames per second and also prevent the application from running at full tilt and consuming far too much CPU time.
And there you have it - a simple application for opening a window in SDL.
Exercises
- Change the colour of the background. Try red, green, yellow, white, and black.
Purchase
The source code for all parts of this tutorial (including assets) is available for purchase:
From itch.io
It is also available as part of the SDL2 tutorial bundle: